【Node.js】OGP用の画像をCanvasで生成する
投稿日: 更新日:
要件
やりたいこと
- 指定した画像の中央に文字を入れる。
- はみ出しそうになったら自動で改行する。
- 自動で改行したときに、英単語を分割しない。
画像はPNGで出力します。
💻環境
- OS:Windows 10 Pro
- Node.js:16.14.0
- 言語:TypeScript
- canvas: 2.9.1
下準備
ディレクトリを作成しその中で以下のコマンドを実行してください。必要なモージュールをインストールします。
npm install typescript canvas @types/node
説明で使用している背景画像です。縦横の中心線を描画してます。
backImg
背景画像を読み込み、Canvasに描画する
以下のプログラムを実行すればまったく同じ画像が生成されます。
関数の引数:save_file_pathは生成した画像の名前と保存先、back_img_pathは背景の画像のパスを設定します。
import { createCanvas, loadImage } from 'canvas'
import * as fs from 'fs'

async function ogp_generator(save_file_path: string, back_img_path: string) {
    //背景画像を読み込みます
    const img = await loadImage(back_img_path)

    // Canvasのサイズを画像に合わせて生成します。
    const ogp_canvas = createCanvas(img.width, img.height)

    //コンテキストを取得します
    const ctx = ogp_canvas.getContext("2d")

    //背景画像をCanvasに描画します
    ctx.drawImage(img, 0, 0)

    //Canvasをpngで書き出します
    const buffer = ogp_canvas.toBuffer("image/png")
    fs.writeFileSync(save_file_path, buffer)
}

//実行例
ogp_generator("sample.png", "guide.png")
画像に文字を入れる
文字列を描画する関数text_drawを作成します。
textAlignをcenterに、textBaselineをmiddleに設定すると文字列の基準点が中心になります。

フォントの設定はcssと同様です。参考-HTMLクイックリファレンス
function text_draw(x: number, y: number, ctx: CanvasRenderingContext2D, text: string): void {
    //テキストを真ん中に表示させるための設定
    ctx.textAlign = "center"
    ctx.textBaseline = "middle"

    //cssのfontを同様の設定方法
    ctx.font = "48px sans-serif"

    //文字列を(x, y)の位置に描画
    ctx.fillText(text, x, y)
}
後はこの関数をogp_generator内のctx.drawImage(img, 0, 0)の後に配置します。
img.width/2、img.height/2を指定することで文字列が中央に設置されます。
//関数ogp_generator内
....
ctx.drawImage(img, 0, 0)
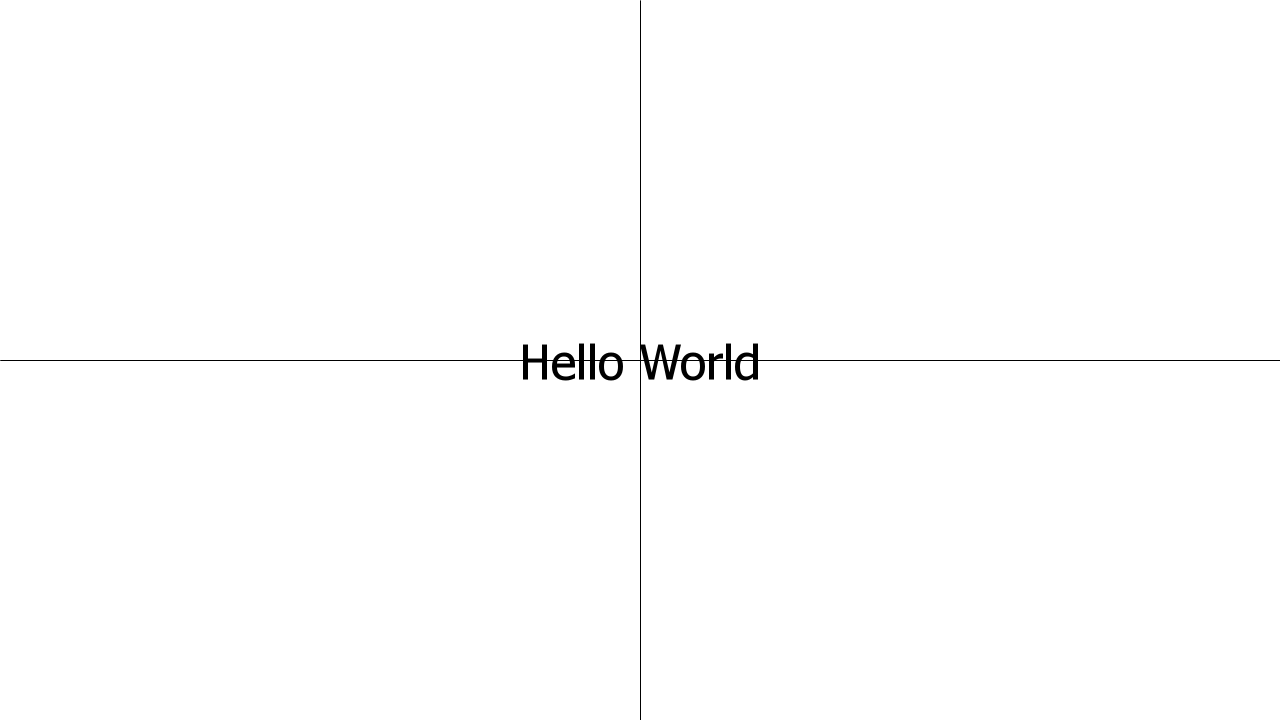
const text = "Hello World"
text_draw(img.width/2, img.height/2, ctx, text)
....
正しく中央に設置されています!
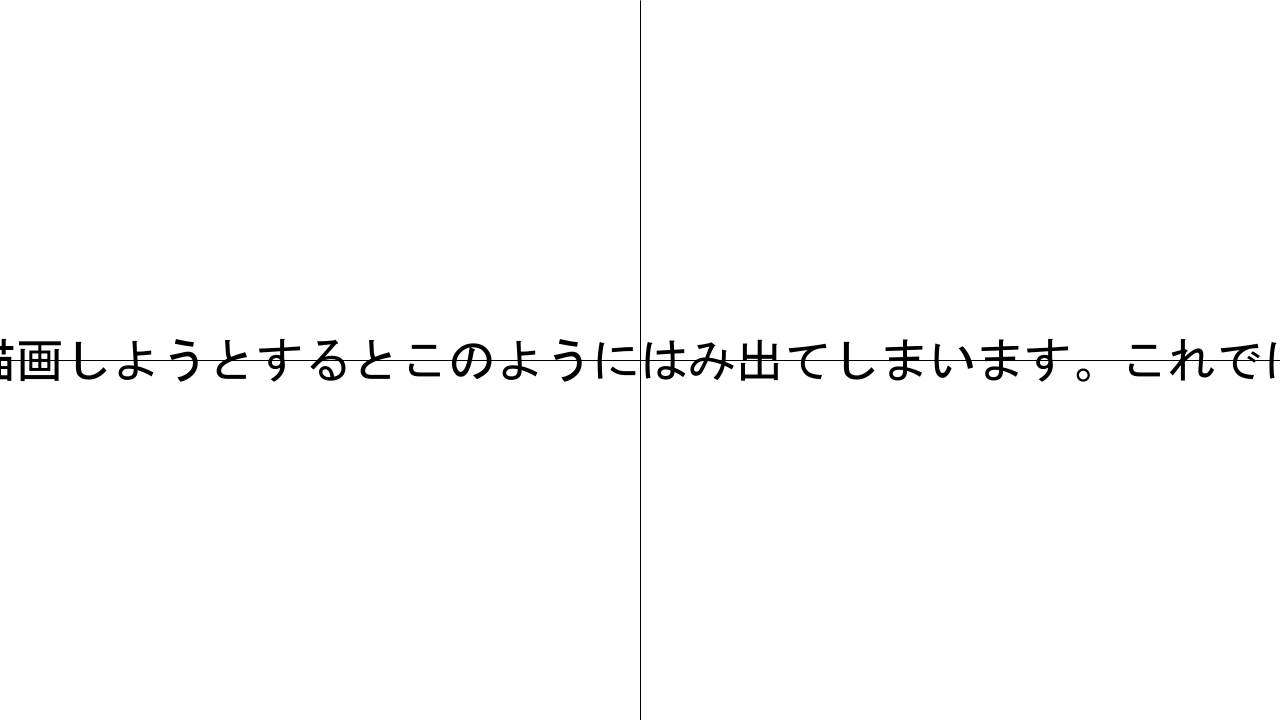
しかし、これでは問題があります。長い文章になるとはみ出てしまいます。
文字を自動で改行する
改行には以下の要件を満たさせます。
- 日本語はどこでも改行可能
- 英単語の途中で改行しない
- ハイフン、アンダースコアで結ばれたものは1単語とする
合計5ステップで完成します!
1、文字列のサイズを取得する関数の作成
描画する時の縦横のサイズを返す関数を作成しておきます。measureTextで測定できます。小数が出てくるので切り捨てます。
//文字列の描画時の縦横のサイズを取得します
function text_size(ctx: CanvasRenderingContext2D, text: string): { width: number, height: number } {
    const measure = ctx.measureText(text)
    const width: number = Math.floor(measure.width)
    const height: number = Math.floor(measure.actualBoundingBoxAscent + measure.actualBoundingBoxDescent)
    return { width, height }
}
2、文字列を分割する関数の作成
文字列を上記の条件に基づいて分割する関数を作成します。

//bufferの後に続く文字が英単語に属するかどうか
function is_english_word(char: string, buffer: string) {
    return /^[A-Za-z]+$/.test(char) || (buffer.length > 0 && /^[\-_!?]+$/.test(char))
}

//文字列を英語は単語単位、それ以外は文字単位に分割します
function text_split(text: string): string[] {
    const splitted: string[] = []
    let word_buffer: string = ""

    for (let i = 0; i < text.length; ++i) {
        const char = text[i]
        if (is_english_word(char, word_buffer)) {
            word_buffer += char
            continue
        }

        if (word_buffer !== "") splitted.push(word_buffer)
        word_buffer = ""
        splitted.push(char)
    }

    if (word_buffer !== "") {
        splitted.push(word_buffer)
    }

    return splitted
}
3、1行に収まらない単語の処理
1行に収まらない長い単語が来たらそれは文字単位に分割する関数を作成します。
//最大範囲に収まらない長い単語を文字単位に分割
function word_break(ctx: CanvasRenderingContext2D, max_width: number, texts: string[]): string[] {
    const text_processed: string[] = []
    for (let i = 0; i < texts.length; ++i) {
        const width =text_size(ctx, texts[i]).width

        if (width > max_width) {
            text_processed.concat(texts[i].split(""))
            continue;
        }

        text_processed.push(texts[i])
    }
    return text_processed
}
4、1行文の文字列を作成
1行に収まるように文字列を連結します。最大幅を超える時に新たな行を生成します。
function create_text_lines(ctx: CanvasRenderingContext2D, max_width: number, texts: string[]): string[] {
    const text_lines: string[] = []
    let line_buffer: string = ""

    for (let i = 0; i < texts.length; ++i) {
        const next_text_width = text_size(ctx, line_buffer + texts[i]).width
        //文字を追加してはみ出るなら、追加前を1行とする
        if (next_text_width > max_width) {
            text_lines.push(line_buffer)
            line_buffer = ""
        }
        line_buffer += texts[i]
    }

    if (line_buffer !== "") {
        text_lines.push(line_buffer)
    }
    return text_lines
}
5、作成した関数を適応する
最後に、作成しておいた関数text_drawを修正します
- 引数に
max_widthを追加 - 文字列の描画方法を変更
function text_draw(x: number, y: number, ctx: CanvasRenderingContext2D, text: string, max_width: number): void {
    //テキストを真ん中に表示させるための設定
    ctx.textAlign = "center"
    ctx.textBaseline = "middle"

    //Cssのfontを同様の設定方法
    ctx.font = "48px sans-serif"

    //文字列を分割
    const text_splitted = word_break(ctx, max_width, text_split(text))
    //1行のテキストを作成
    const text_lines = create_text_lines(ctx, max_width, text_splitted)
    //1行の高さを取得
    const text_hight = text_size(ctx, text).height

    //文字が重ならないようにずらし、1行づつ描画
    let y_offset = -1 * (text_hight / 2) * (text_lines.length - 1)
    for (let i = 0; i < text_lines.length; ++i) {
        ctx.fillText(text_lines[i], x, y + y_offset)
        y_offset += text_hight
    }
}
関数ogp_generator内のtext_drawも変更します。最大幅にimg.width(画像の幅)を設定します。
//関数ogp_generator内
....
text_draw(img.width/2, img.height/2, ctx, text, img.width)
....
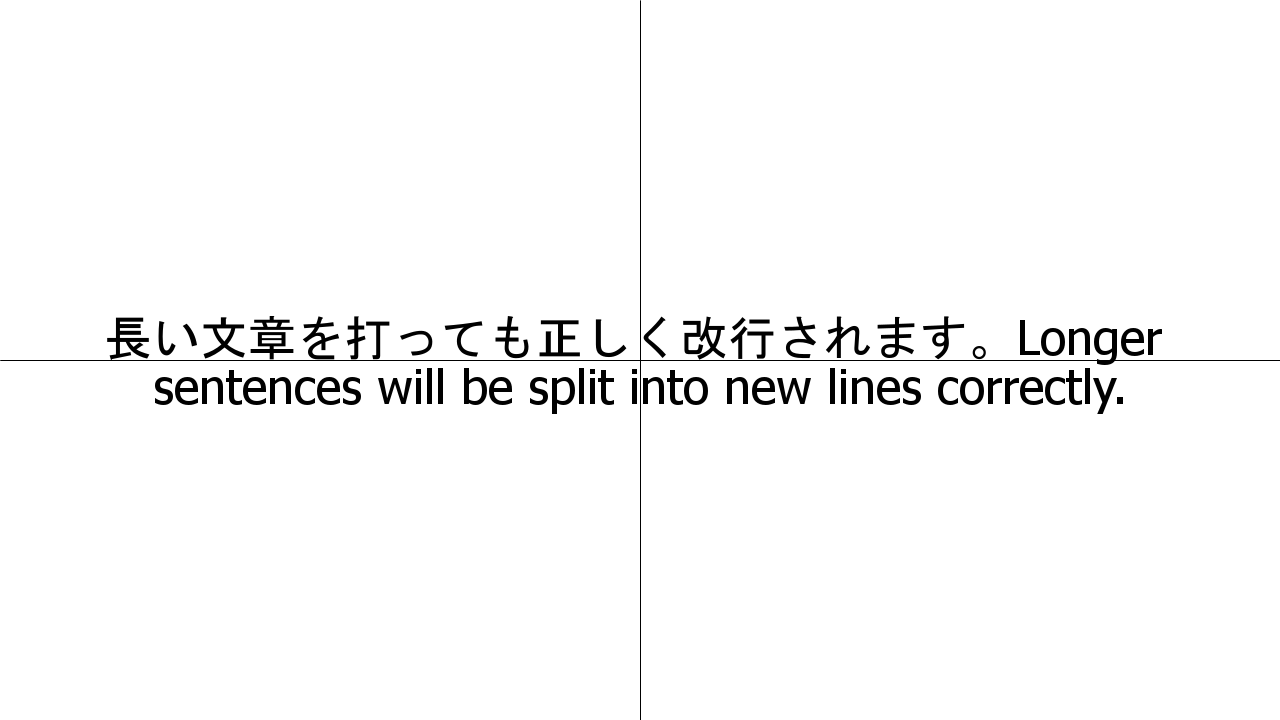
正しく改行できていますし、中心に設置されています😄
コード全体
これで完成です。お疲れさまでした😄
import { createCanvas, loadImage } from 'canvas'
import * as fs from 'fs'

//文字列の描画時の縦横のサイズを取得します
function text_size(ctx: CanvasRenderingContext2D, text: string): { width: number, height: number } {
    const measure = ctx.measureText(text)
    const width: number = Math.floor(measure.width)
    const height: number = Math.floor(measure.actualBoundingBoxAscent + measure.actualBoundingBoxDescent)
    return { width, height }
}

//bufferの後に続く文字が英単語に属するかどうか
function is_english_word(char: string, buffer: string) {
    return /^[A-Za-z]+$/.test(char) || (buffer.length > 0 && /^[\-_!?]+$/.test(char))
}

//文字列を英語は単語単位、それ以外は文字単位に分割します
function text_split(text: string): string[] {
    const splitted: string[] = []
    let word_buffer: string = ""

    for (let i = 0; i < text.length; ++i) {
        const char = text[i]
        if (is_english_word(char, word_buffer)) {
            word_buffer += char
            continue
        }

        if (word_buffer !== "") splitted.push(word_buffer)
        word_buffer = ""
        splitted.push(char)
    }

    if (word_buffer !== "") {
        splitted.push(word_buffer)
    }

    return splitted
}

//最大範囲に収まらない長い単語を文字単位に分割
function word_break(ctx: CanvasRenderingContext2D, max_width: number, texts: string[]): string[] {
    const text_processed: string[] = []
    for (let i = 0; i < texts.length; ++i) {
        const width =text_size(ctx, texts[i]).width

        if (width > max_width) {
            text_processed.concat(texts[i].split(""))
            continue;
        }

        text_processed.push(texts[i])
    }
    return text_processed
}

function create_text_lines(ctx: CanvasRenderingContext2D, max_width: number, texts: string[]): string[] {
    const text_lines: string[] = []
    let line_buffer: string = ""

    for (let i = 0; i < texts.length; ++i) {
        const next_text_width = text_size(ctx, line_buffer + texts[i]).width
        //文字を追加してはみ出るなら、追加前を1行とする
        if (next_text_width > max_width) {
            text_lines.push(line_buffer)
            line_buffer = ""
        }
        line_buffer += texts[i]
    }

    if (line_buffer !== "") {
        text_lines.push(line_buffer)
    }
    return text_lines
}

function text_draw(x: number, y: number, ctx: CanvasRenderingContext2D, text: string, max_width: number): void {
    //テキストを真ん中に表示させるための設定
    ctx.textAlign = "center"
    ctx.textBaseline = "middle"

    //Cssのfontを同様の設定方法
    ctx.font = "48px sans-serif"

    //文字列を分割
    const text_splitted = word_break(ctx, max_width, text_split(text))
    //1行のテキストを作成
    const text_lines = create_text_lines(ctx, max_width, text_splitted)
    //1行の高さを取得
    const text_hight = text_size(ctx, text).height

    //文字が重ならないようにずらし、1行づつ描画
    let y_offset = -1 * (text_hight / 2) * (text_lines.length - 1)
    for (let i = 0; i < text_lines.length; ++i) {
        ctx.fillText(text_lines[i], x, y + y_offset)
        y_offset += text_hight
    }
}

async function ogp_generator(save_file_path: string, back_img_path: string) {
    //背景画像を読み込みます
    const img = await loadImage(back_img_path)

    // Canvasのサイズを画像に合わせて生成します。
    const ogp_canvas = createCanvas(img.width, img.height)

    //コンテキストを取得します
    const ctx = ogp_canvas.getContext("2d")

    //背景画像をCanvasに描画します
    ctx.drawImage(img, 0, 0)
    const text = "Hello World"
    text_draw(img.width/2, img.height/2, ctx, text, img.width)

    //Canvasをpngで書き出します
    const buffer = ogp_canvas.toBuffer("image/png")
    fs.writeFileSync(save_file_path, buffer)
}

//実行例
ogp_generator("sample.png", "guide.png")